Help Screen
Description
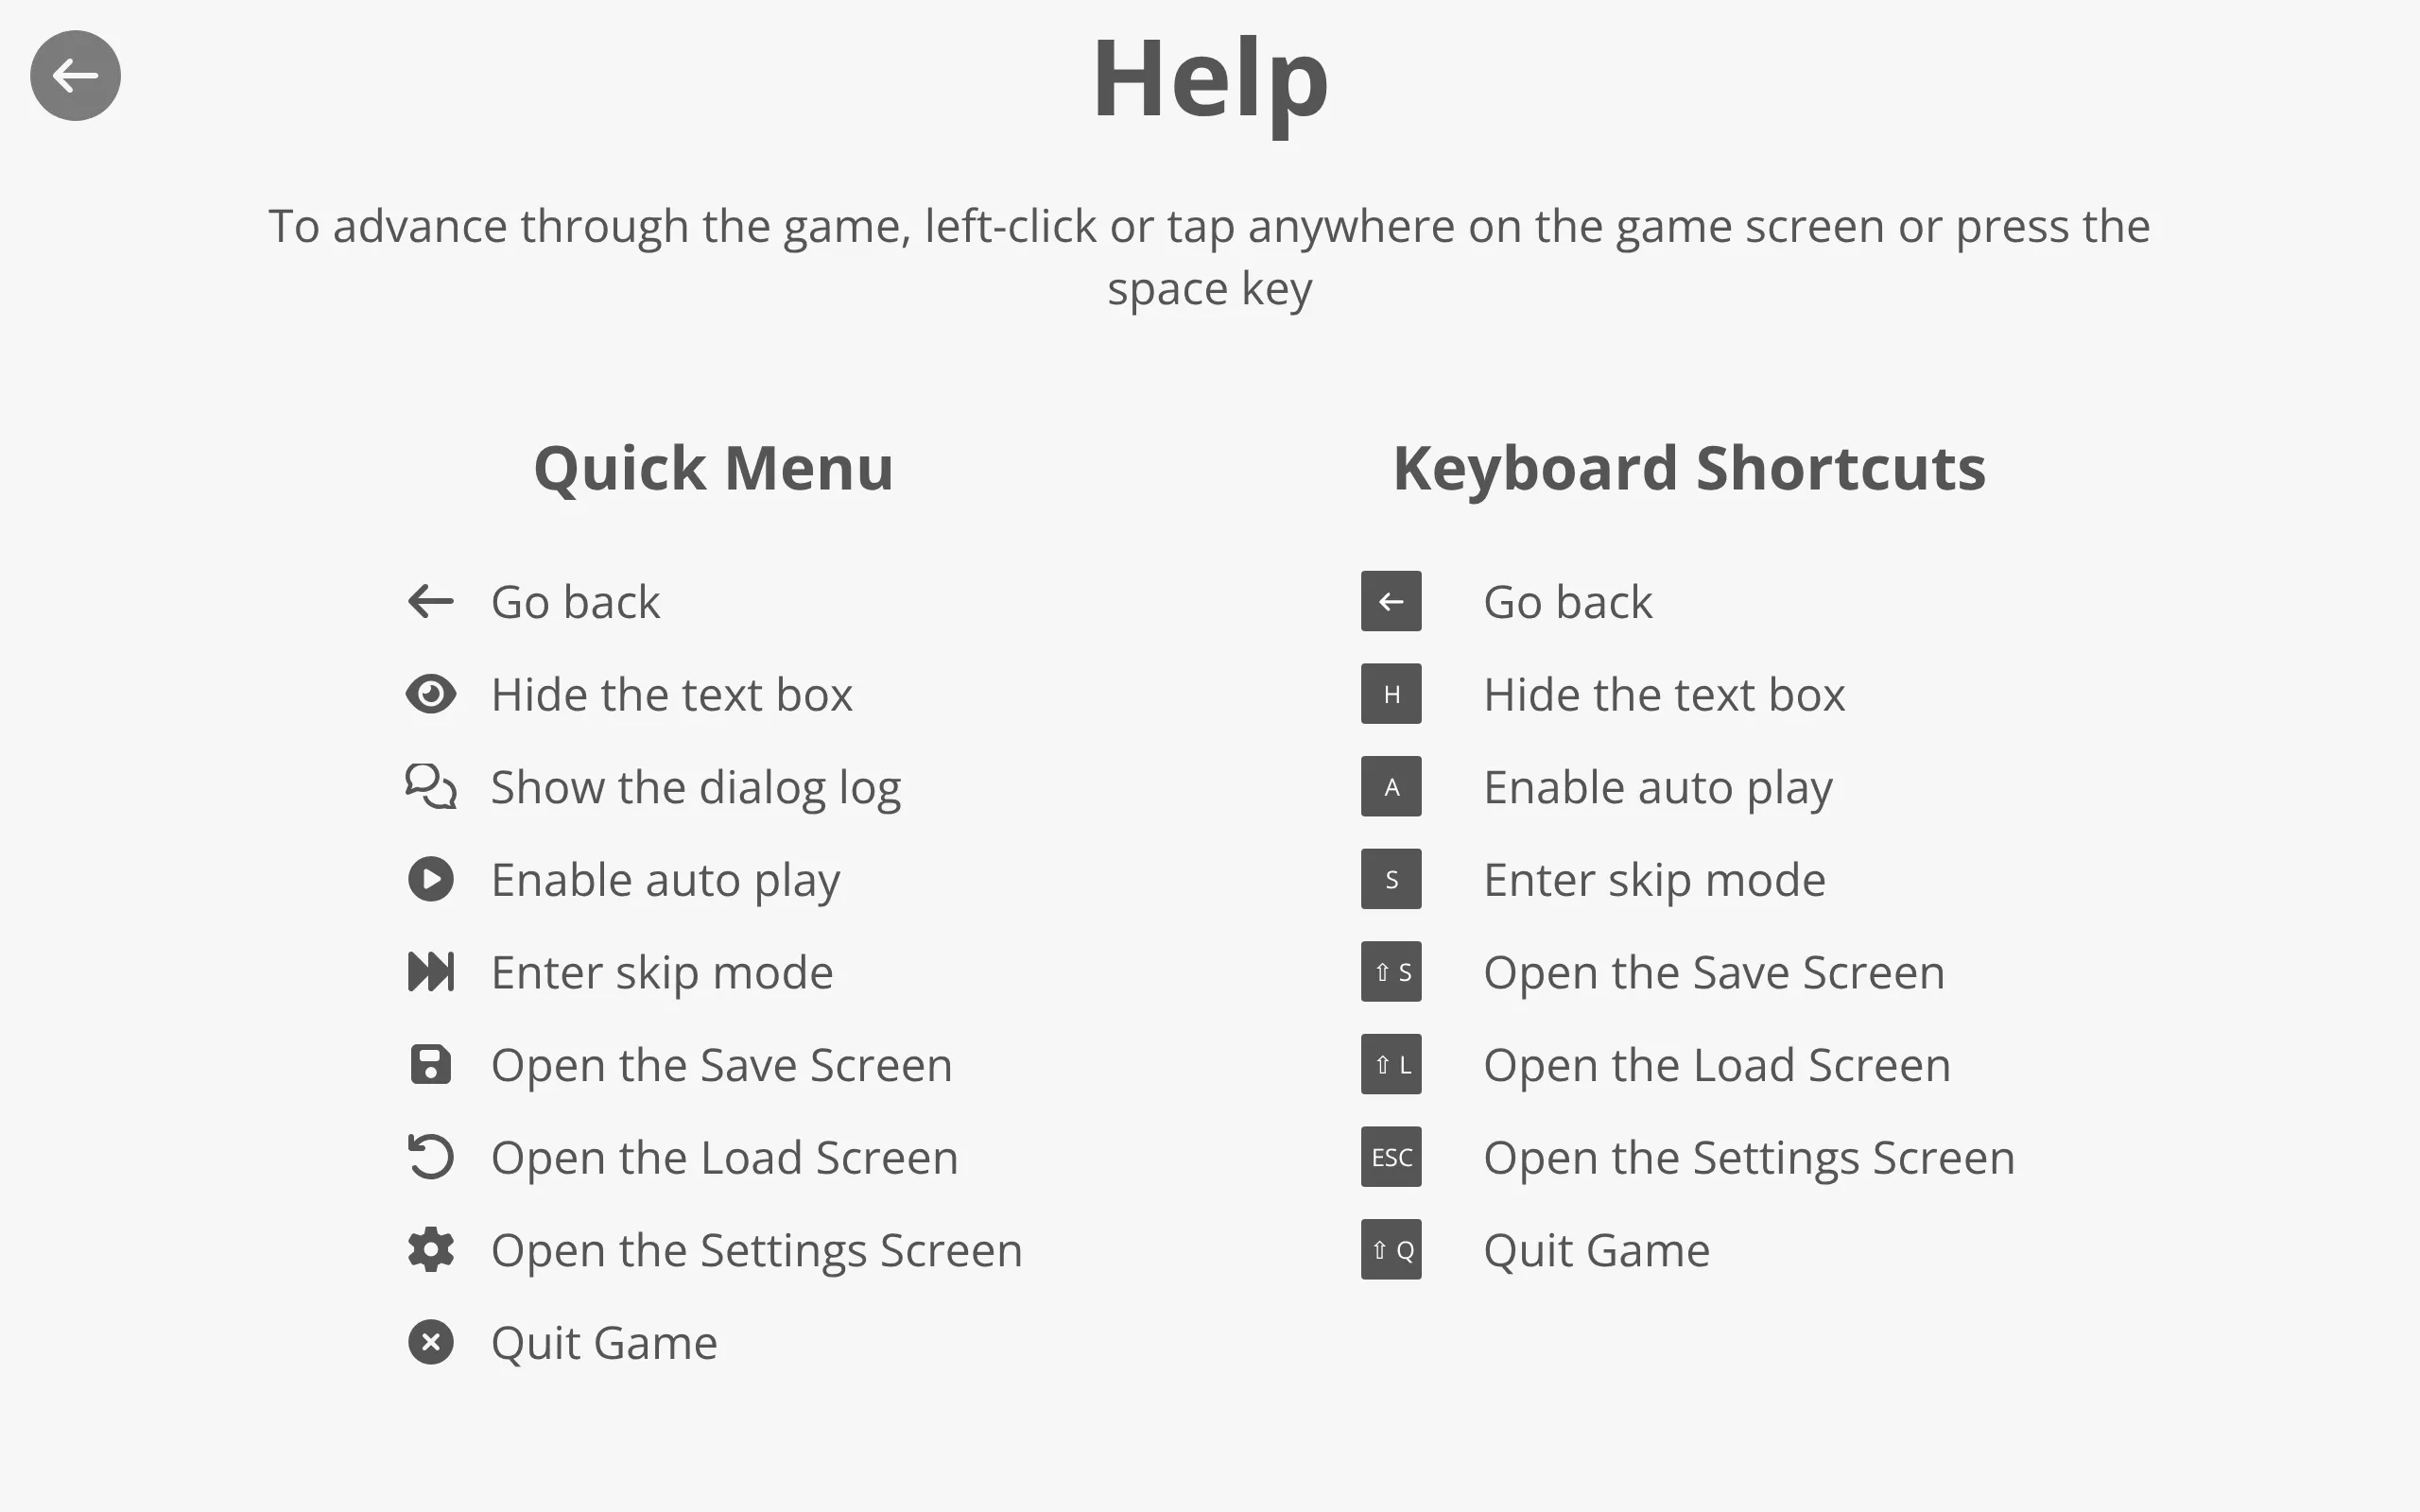
<help-screen></help-screen>The help-screen component shows players how to interact with the game. It explains how to advance through dialogs and lists every quick menu button alongside its keyboard shortcut. It is a screen component, so it is opened and closed like the other screens (Settings, Save, Load, etc.).
Source Code: https://github.com/Monogatari/Monogatari/tree/develop/src/components/help-screen
Usage
The help screen is reached from the Help button in the main menu. That button uses the open-screen action targeting the help screen:
{
    string: 'Help',
    data: {
        action: 'open-screen',
        open: 'help'
    }
}
The screen is closed with the back button in its top-left corner, which uses the back action.
Structure
The help screen renders a back button, a heading, an “advance” hint, and two sections: one for the Quick Menu buttons and one for Keyboard Shortcuts. Each entry pairs a symbol with an instruction:
<help-screen data-screen="help">
    <button class="top left" data-action="back"><span class="fas fa-arrow-left"></span></button>
    <h2 data-string="Help">Help</h2>
    <div data-content="help">
        <p data-string="AdvanceHelp">To advance through the game, left-click or tap anywhere on the game screen or press the space key</p>
        <div class="help__sections">
            <div class="help__section">
                <h3 data-string="QuickMenu">Quick Menu</h3>
                <div class="help__section__item">
                    <div data-content="symbols">
                        <span class="fas fa-arrow-left" data-content="icon"></span>
                    </div>
                    <div data-content="instruction">
                        <span data-string="BackButton">Go back</span>
                    </div>
                </div>
                <!-- ...one item per quick menu button... -->
            </div>
            <div class="help__section">
                <h3 data-string="KeyboardShortcuts">Keyboard Shortcuts</h3>
                <div class="help__section__item">
                    <div data-content="symbols">
                        <span data-content="shortcut">H</span>
                    </div>
                    <div data-content="instruction">
                        <span data-string="HideButton">Hide the text box</span>
                    </div>
                </div>
                <!-- ...one item per keyboard shortcut... -->
            </div>
        </div>
    </div>
</help-screen>
The data-screen="help" attribute is added automatically when the screen mounts (the -screen suffix is stripped from the tag name).
Content Areas
| Name | Selector | Description |
|---|---|---|
help |
[data-content="help"] |
The wrapper holding the help hint and both sections |
symbols |
[data-content="symbols"] |
The icon or shortcut key for an item |
shortcut |
[data-content="shortcut"] |
A keyboard key rendered as a styled badge |
instruction |
[data-content="instruction"] |
The text describing what the symbol does |
Help Strings
All the help text is localized through data-string attributes. The strings rendered by the screen are:
| String Key | Default | Description |
|---|---|---|
Help |
“Help” | The screen heading |
AdvanceHelp |
“To advance through the game, left-click or tap anywhere on the game screen or press the space key” | The advance hint |
QuickMenu |
“Quick Menu” | The quick menu section heading |
KeyboardShortcuts |
“Keyboard Shortcuts” | The keyboard shortcuts section heading |
BackButton |
“Go back” | Back button / shortcut |
HideButton |
“Hide the text box” | Hide button / shortcut |
DialogLogButton |
“Show the dialog log” | Dialog log button |
AutoPlayButton |
“Enable auto play” | Auto play button / shortcut |
SkipButton |
“Enter skip mode” | Skip button / shortcut |
SaveButton |
“Open the Save Screen” | Save button / shortcut |
LoadButton |
“Open the Load Screen” | Load button / shortcut |
SettingsButton |
“Open the Settings Screen” | Settings button / shortcut |
QuitButton |
“Quit Game” | Quit button / shortcut |
The keyboard shortcuts shown next to each instruction are H (Hide), A (Auto play), S (Skip), ⇧ S (Save), ⇧ L (Load), ESC (Settings) and ⇧ Q (Quit), plus the back arrow for going back.
Customizing the Help Content
TIP
The help screen's layout is fixed in the component, but all of its text is driven by translations. To change the wording, override the relevant string keys for your language with monogatari.translation ():
monogatari.translation ('English', {
    'AdvanceHelp': 'Tap or click anywhere to continue the story.',
    'QuickMenu': 'Controls'
});
See Internationalization for the full list of UI strings you can override.
If you need a completely different layout, you can register your own component under the help-screen tag to replace the built-in one.
Styling
help-screen [data-content="help"] {
    max-width: 1000px;
    margin: 0 auto;
}

help-screen .help__sections {
    display: flex;
    flex-direction: column;
    gap: 2rem;
}

help-screen .help__section {
    padding: 2rem;
    display: flex;
    flex-direction: column;
    gap: 1rem;
}

help-screen .help__section__item {
    display: grid;
    grid-template-columns: auto 1fr;
    gap: 1rem;
    text-align: left;
}

/* Keyboard shortcut badge */
help-screen [data-content="symbols"] [data-content="shortcut"] {
    background-color: var(--text-color);
    color: #fff;
    border-radius: 2px;
    text-align: center;
}
Related
- Quick Menu - The buttons documented by the help screen
- Settings Screen - Another screen reached from the main menu
- Internationalization - How to translate or reword the help text